
Curtis Coffee Machine Manual: A Comprehensive Guide
This manual provides detailed instructions for optimal operation, maintenance, and troubleshooting of your Curtis coffee machine, ensuring consistently excellent brews.
Curtis coffee machines are renowned within the commercial food service industry for their durability, reliability, and ability to consistently deliver high-quality coffee. For decades, Curtis has been a trusted name among coffee shops, restaurants, and institutions. These machines are engineered for demanding environments and are built to withstand frequent use.
Understanding your machine’s capabilities and following proper operating procedures, as outlined in this manual, will maximize its performance and lifespan. This guide will cover everything from initial setup and daily operation to advanced features and troubleshooting, ensuring you can brew exceptional coffee every time.
Understanding Your Curtis Coffee Machine Model
Identifying your specific model is crucial for accessing the correct documentation and ensuring proper operation and maintenance procedures are followed.
Identifying Your Specific Model Number
Locating the model number is the first step towards accessing tailored support and resources for your Curtis coffee machine. This unique identifier unlocks access to the precise manual, parts lists, and troubleshooting guides designed specifically for your unit.
Typically, the model number is found on a sticker or plate affixed to the machine’s exterior. Common locations include the bottom, back panel, or inside the water reservoir compartment. Carefully inspect these areas, and note the alphanumeric code.
Having this number readily available when contacting customer support or ordering replacement parts will streamline the process and ensure compatibility.
Locating the Full Manual Online
Accessing the complete Curtis coffee machine manual online offers a convenient and readily available resource for detailed information. The official Curtis website is the primary source for downloadable manuals, categorized by model number for easy navigation.
Simply visit the Curtis website and utilize the search function, entering your specific model number to pinpoint the correct manual. Alternatively, many online retailers that sell Curtis machines also provide links to downloadable manuals on their product pages.
Digital access ensures you always have the latest version and can easily search for specific topics.

Initial Setup and Preparation
Proper setup involves filling the water reservoir with filtered water and completing an initial rinse cycle to ensure optimal performance and cleanliness.
Water Reservoir and Filtration
The Curtis coffee machine’s water reservoir is designed for easy filling and optimal water capacity, crucial for consistent brewing. Always use fresh, filtered water to prevent mineral buildup and ensure the best-tasting coffee.
Regularly check the water level before each brewing cycle. Utilizing a Curtis-approved water filter significantly enhances water quality, removing impurities that can affect flavor and machine longevity.
Replace filters according to the manufacturer’s recommendations, typically every few months, depending on water hardness and usage frequency. Proper filtration protects internal components and delivers a superior coffee experience.
Powering On and Initial Rinse Cycle
Before your first brew, it’s essential to properly power on and perform an initial rinse cycle with your Curtis coffee machine. Connect the machine to a grounded electrical outlet, ensuring the voltage matches the specifications.
Press the power button to initiate the startup sequence. Following power-up, run a full brewing cycle with only water – no coffee grounds – to flush out any residual manufacturing particles.
This initial rinse cycle prepares the system for optimal performance and guarantees a clean, fresh taste in your first pot of coffee. Discard the water from this cycle before brewing.

Brewing Coffee: Step-by-Step Instructions
Follow these simple steps to brew delicious coffee with your Curtis machine: add grounds, set volume/strength, and start the brewing process for perfect results.
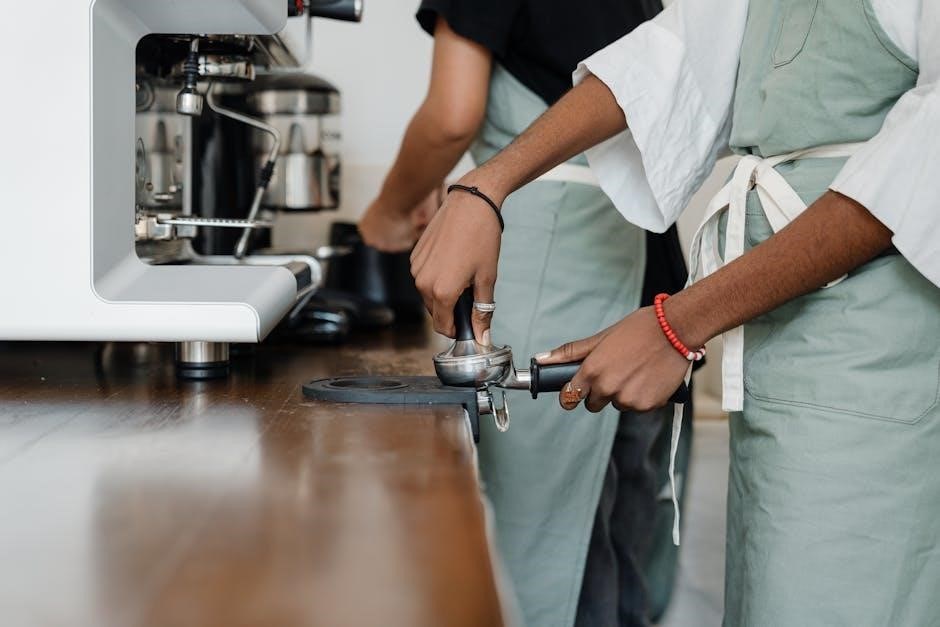
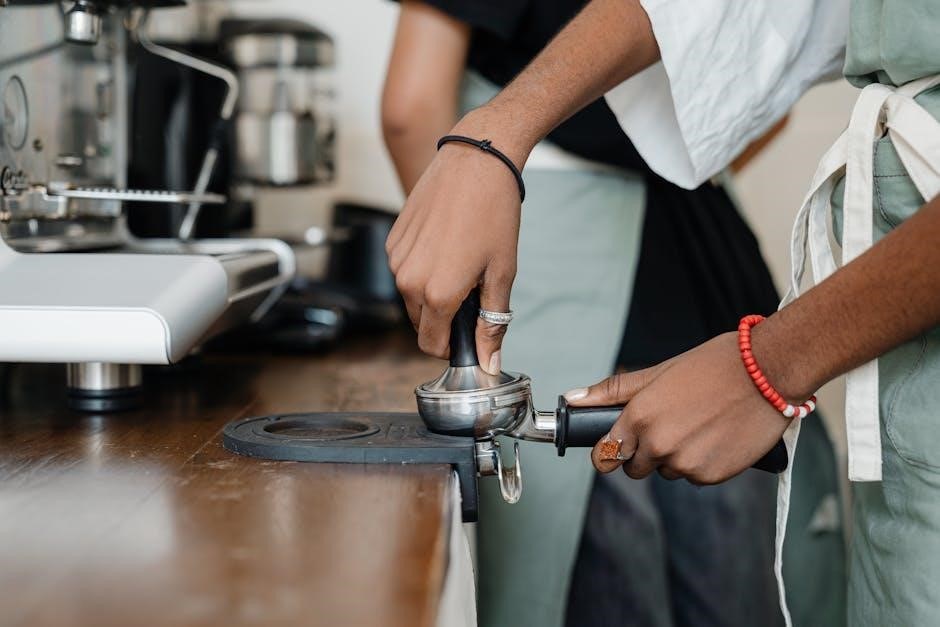
Adding Coffee Grounds
Carefully measure the desired amount of coffee grounds, considering your preferred brew strength and the machine’s capacity. Generally, a standard ratio is two tablespoons of ground coffee per six ounces of water, but adjust to taste.
Ensure the grounds are evenly distributed within the filter basket for consistent extraction. Use a paper or permanent filter, securing it properly within the basket. Avoid overfilling, as this can cause overflow during brewing.
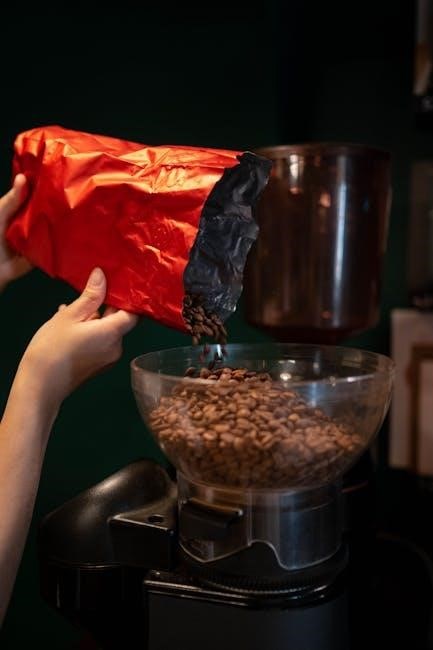
For optimal flavor, use freshly ground beans. Properly ground coffee ensures maximum flavor extraction, resulting in a richer, more aromatic cup of coffee.
Setting Brew Volume and Strength
Your Curtis machine allows customization of brew volume and strength to suit individual preferences. Locate the volume control, typically measured in ounces or cups, and adjust to your desired serving size. For strength, some models offer settings like ‘regular’ or ‘bold’, influencing the coffee-to-water ratio.
Experiment with different settings to find your ideal balance. A higher coffee-to-water ratio results in a stronger brew. Refer to your specific model’s manual for detailed instructions on adjusting these parameters.
Remember to note your preferred settings for consistent results.
Starting the Brewing Process
Once the coffee grounds are added and brew volume/strength are set, initiate the brewing cycle. Most Curtis machines feature a clearly labeled ‘Brew’ or ‘Start’ button. Pressing this button activates the heating element and water pump, beginning the brewing process.
Observe the machine as hot water flows through the grounds and into the carafe. Brewing time varies depending on the model and selected volume. Avoid interrupting the cycle mid-brew.
Once complete, the machine will typically signal with an audible tone or indicator light.
Cleaning and Maintenance
Regular cleaning extends your Curtis machine’s life and ensures optimal performance. Daily routines and periodic descaling are crucial for quality brewing.
Daily Cleaning Procedures
To maintain peak performance and hygiene, implement these daily cleaning steps. After each brewing cycle, immediately discard used coffee grounds and rinse the filter basket thoroughly with warm water. Wipe down the exterior surfaces of the machine with a damp, non-abrasive cloth to remove any spills or coffee residue.
Pay close attention to the spray head, ensuring it’s free from blockages. A quick rinse can prevent buildup. Regularly empty and clean the drip tray to avoid overflow and maintain a tidy workspace. These simple, consistent actions will significantly contribute to the longevity and consistent quality of your Curtis coffee machine.
Descaling the Machine
Regular descaling is crucial to remove mineral buildup that can affect brewing performance and coffee taste. Use a commercially available descaling solution specifically designed for coffee machines, following the product’s instructions carefully. Typically, this involves running a descaling solution through a full brew cycle, followed by several rinse cycles with fresh water.
The frequency of descaling depends on water hardness; areas with hard water require more frequent descaling. Ignoring this step can lead to reduced heating efficiency and potential damage to the machine.
Cleaning the Spray Head and Filter Basket
The spray head and filter basket require regular cleaning to prevent clogging and ensure optimal coffee extraction. Remove the filter basket and spray head according to your model’s instructions. Wash both components with warm, soapy water, using a soft brush to remove any coffee residue or mineral deposits.
Rinse thoroughly to remove all traces of soap. Inspect the spray head holes for blockages and clear them with a small pin or wire if necessary. A clean spray head distributes water evenly, leading to a better-tasting brew.

Troubleshooting Common Issues
This section details solutions for frequent problems like power failures, slow brewing, and error codes, helping you quickly restore your machine’s functionality.
Machine Not Powering On
If your Curtis coffee machine fails to power on, first verify the power cord is securely connected to both the machine and a functioning electrical outlet. Check the circuit breaker or fuse box to ensure the circuit hasn’t tripped or the fuse hasn’t blown.
Confirm the machine’s power switch is in the “on” position. If these steps don’t resolve the issue, inspect the power cord for any visible damage, such as cuts or fraying. A damaged cord should be replaced immediately.
If the problem persists, consult a qualified technician for further assistance, as internal electrical components may require professional attention.
Coffee Brewing Too Slowly
If your Curtis coffee machine is brewing exceptionally slowly, the most common cause is mineral buildup or scale within the machine’s internal components. This restricts water flow, hindering the brewing process. Regularly descaling the machine, as outlined in the ‘Cleaning and Maintenance’ section, is crucial.
Also, ensure the spray head and filter basket are thoroughly cleaned and free from any obstructions. Using excessively fine coffee grounds can also slow down brewing.
Consider using a coarser grind size. If the issue continues, contact customer support for further diagnostics.
Error Codes and Their Meanings
Your Curtis coffee machine utilizes error codes to diagnose potential issues. A flashing “E1” typically indicates a low water level or a problem with the water inlet valve; refill the reservoir and restart. “E2” suggests a heating element malfunction, requiring professional service.
“E3” often signals a flow sensor issue, potentially due to blockage. Descaling may resolve this.
Refer to the complete manual (available online) for a comprehensive list of all error codes and their corresponding solutions. Ignoring error codes can lead to further damage; prompt attention is advised.
Advanced Features and Settings
Explore programmable timers, adjustable water temperature controls, and specialty brew options to customize your coffee experience for optimal flavor profiles.
Programmable Timers
Curtis coffee machines often feature programmable timers, allowing for automated brewing schedules. This convenient function enables you to wake up to freshly brewed coffee or ensure a pot is ready upon arrival.
Access the timer settings through the machine’s control panel, typically involving setting the desired brew start time. Some models support multiple timer settings for different days of the week.
Ensure the machine is properly filled with water and coffee grounds before activating the timer. Regularly check the timer settings to confirm accuracy and adjust as needed for seasonal time changes or altered schedules.
Adjusting Water Temperature
Precise water temperature is crucial for optimal coffee extraction. Many Curtis machines allow for temperature adjustments, catering to different coffee bean types and roast levels.
Access temperature settings via the control panel, often displayed in Fahrenheit or Celsius. Lower temperatures generally suit lighter roasts, while higher temperatures are better for darker roasts.
Experiment with slight adjustments to find the ideal temperature for your preferred coffee. Be cautious when increasing temperature, as excessively hot water can result in bitter coffee.
Using Specialty Brew Options
Certain Curtis coffee machines feature specialty brew options, like bloom, pre-infusion, or pulse brewing, enhancing flavor profiles. Bloom allows coffee grounds to degas, improving extraction.
Pre-infusion wets the grounds before full brewing, promoting even saturation. Pulse brewing involves intermittent water flow, optimizing contact time.
Consult your specific model’s manual to understand available options and their settings. Experiment with these features to unlock nuanced flavors and tailor your brewing process to different coffee varieties.
Safety Precautions
Always prioritize electrical safety and be mindful of hot surfaces during operation. Follow proper usage guidelines to prevent burns and ensure safe brewing practices.
Electrical Safety
To ensure safe operation, always verify the voltage indicated on the machine matches your power supply. Never operate the Curtis coffee machine with a damaged cord or plug; replace immediately. Avoid using extension cords if possible, and if necessary, ensure it’s appropriately rated for the appliance’s wattage.
Do not immerse the machine, cord, or plug in water or other liquids. Unplug the machine from the outlet when not in use and before cleaning. Always grasp the plug, not the cord, when disconnecting. Never attempt to repair the machine yourself; contact qualified service personnel for assistance.
Hot Surface Warnings
Caution: During and immediately after brewing, many surfaces of the Curtis coffee machine become extremely hot. Avoid touching the spray head, filter basket, warming plate, and any areas near the brewing chamber. Use handles or knobs provided for operation.
Allow the machine to cool down completely before cleaning or performing maintenance. Be mindful of escaping steam, as it can cause burns. Keep children and pets away from the machine during operation and cooling. Always exercise caution and wear appropriate protection when handling hot components.
Proper Usage Guidelines
To ensure optimal performance and longevity of your Curtis coffee machine, always use filtered water. Avoid using abrasive cleaners or scouring pads, as they can damage the machine’s surfaces. Regularly descale the machine to prevent mineral buildup, following the instructions in the cleaning section.
Never operate the machine without water in the reservoir. Do not overfill the coffee grounds basket. Ensure the carafe is properly positioned before starting a brew cycle. Unplug the machine when not in use and during extended periods of inactivity.
Parts and Accessories
Genuine Curtis filters and replacement parts are crucial for maintaining peak performance and extending the life of your coffee machine.
Replacing Filters
Regular filter replacement is paramount for optimal coffee quality and machine longevity. Curtis coffee machines utilize various filter types, including paper and reusable options. Consult your specific model’s manual to identify the correct filter.
To replace, gently remove the old filter from the filter basket or brew cone. Ensure the new filter is properly seated, avoiding any folds or gaps that could cause overflow or uneven extraction.
Frequency depends on usage and water quality; however, daily replacement with paper filters is recommended for consistently clean flavor. Reusable filters require periodic deep cleaning to prevent buildup. Ignoring filter changes impacts taste and potentially damages the machine.
Ordering Replacement Parts
Maintaining your Curtis coffee machine requires occasional part replacements. Genuine Curtis parts ensure optimal performance and longevity. To order, first identify your machine’s model number – typically found on a label affixed to the unit.
You can order directly through the official Curtis website or authorized distributors. Have your model number and the part number readily available. Common replacements include filters, spray heads, and gaskets.
Avoid using non-genuine parts, as they may compromise functionality and void your warranty. Curtis customer support can assist with part identification and ordering if needed, guaranteeing a perfect fit.
Warranty Information
Your Curtis coffee machine is covered by a limited warranty against manufacturing defects; registration is crucial for efficient claims processing and service.
Registering Your Machine
Registering your new Curtis coffee machine is a simple, yet vital step to activate your warranty coverage and ensure access to important product updates and support resources. You can typically register online through the official Curtis website, requiring your machine’s model number and proof of purchase – often a copy of your sales receipt.
Alternatively, a physical registration card may have been included with your machine; complete it and mail it to the address provided. Registration allows Curtis to contact you directly regarding safety notifications, new features, or potential recalls. It also streamlines the warranty claim process should you encounter any issues.
Understanding Warranty Coverage
Your Curtis coffee machine is protected by a limited warranty against defects in materials and workmanship from the date of original purchase. The warranty period varies depending on the specific model, typically ranging from one to five years for parts and labor.
This warranty does not cover damage resulting from misuse, improper maintenance, commercial use (unless specifically designated for commercial models), or unauthorized repairs. To make a warranty claim, you must provide proof of purchase and a detailed description of the defect. Contact Curtis customer support for instructions and authorization before returning any parts.